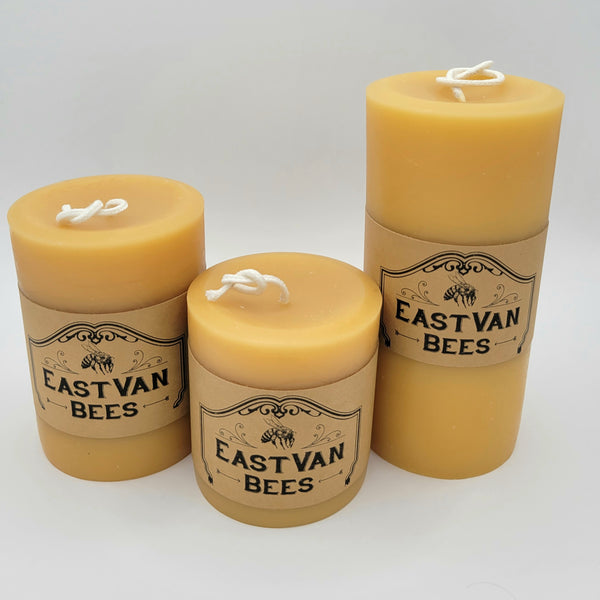
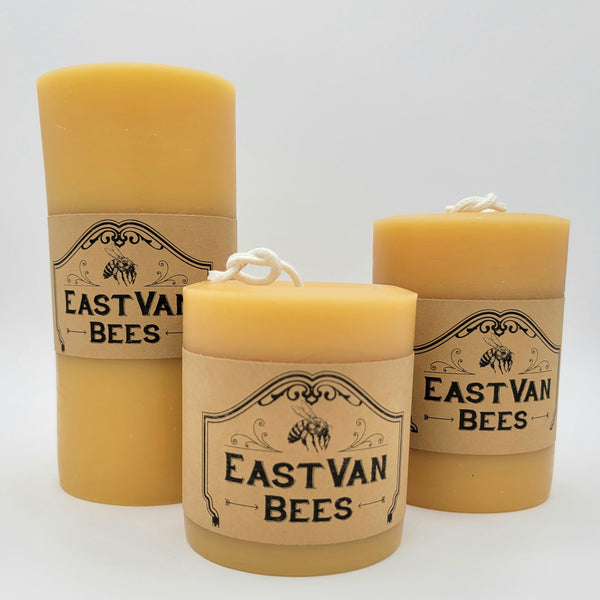
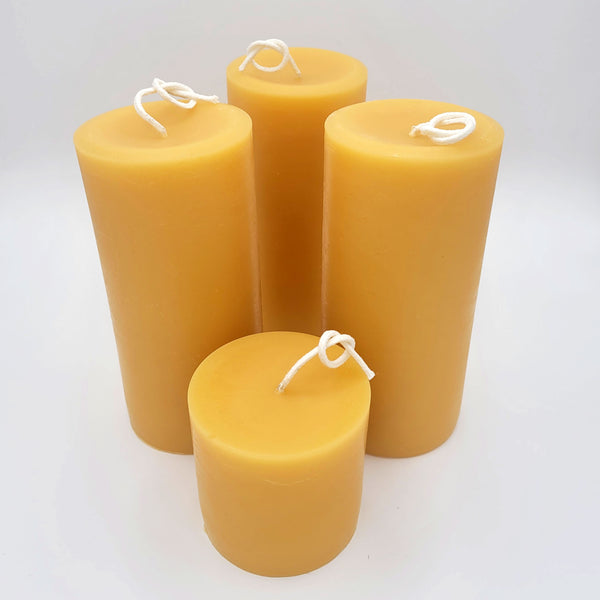
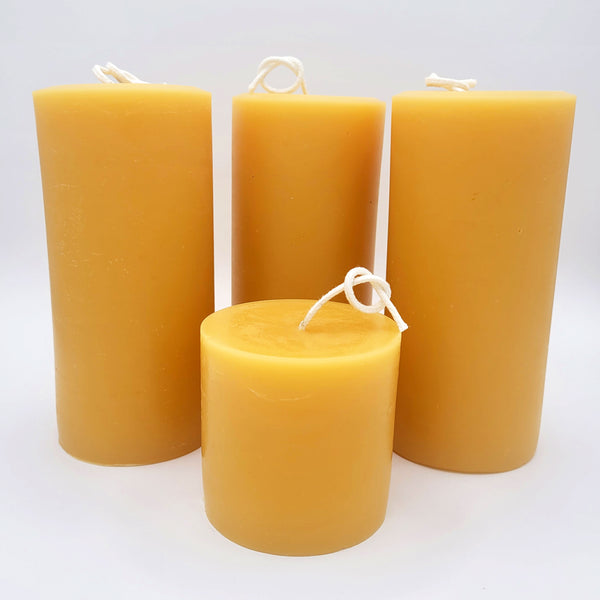
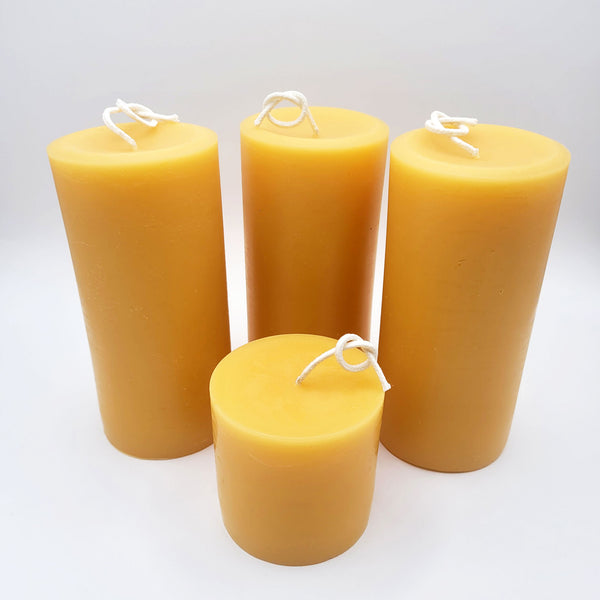
3 INCH WIDE 100% BEESWAX PILLAR CANDLE
In stock
We hand pour and hand wick these candles in our wax to make a beautiful and classic pillar candle that can be used in your home or special event
═══════Dimensions and Burn Time════════
3" x 3" pillar - 35-45 hours total burn time (approx)
3" x 4" pillar - 55+ hours total burn time (approx)
3" x 6" pillar - 80+ hours total burn time (approx)
All our candles are created from the highest quality beeswax, capping beeswax. Capping wax is the cleanest wax the bees produce that seals the cells of the honey. We cut this wax off when we extract the honey and then filter it to 1 micron. We practice sustainable beekeeping so never take more honey or wax than the bees are OK with (we ask them!)
══════All Natural with NO Additives════
Beeswax releases negative ions when it burns. Pollen, dust, dirt, and any other junk in the air all carry a positive charge, and that is how they can be suspended in the air. The negative ions released from burning beeswax negate the positive charge of air contaminants, and the neutralized ions are sucked back into the burning candle or fall to the ground. Many air purifiers and water filters harness this effective negative ion technology.
We use natural cotton braided wicks with no additional materials added
Beeswax will burn clean and with no or very little soot. The wax is environmentally friendly, non-toxic, and biodegradable. You could even eat it, although we don't recommend that.
════What you get════
100% Canadian Beeswax
Beeswax will burn at a very high temp so will burn 2-5 times longer than other types of wax. You can even use our tea lights for a heat source!
To properly light and care for a beeswax pillar candle, follow these steps to ensure a clean, long-lasting burn:
1. First Burn:
When lighting a beeswax pillar candle, it's often beneficial to light the wick from the base rather than the tip. Here's why and how to do it effectively:
Why Light from the Base of the Wick:
- Controlled Ignition: Lighting the wick from the base (near the wax) allows the flame to catch more evenly, reducing the chances of uneven burning or excessive smoke.
- Cleaner Burn: Starting at the base helps the flame melt the wax near the wick right away, promoting a cleaner and more consistent burn.
- Less Soot: Lighting from the tip can sometimes cause the flame to flicker or flare up, which might lead to more soot. By lighting from the base, you minimize this risk.
- Preserves Wick Integrity: It helps prevent the wick from burning too quickly or unevenly, which can shorten the life of the candle.
How to Light the Wick from the Base:
- Tilt the Candle: Hold the candle at an angle, so you can easily reach the base of the wick with your match or lighter.
- Position the Flame: Place the flame of the lighter or match close to the base of the wick, where it meets the wax. Once it ignites, the flame will move up the wick naturally.
- Allow a Steady Flame: Wait until the flame becomes steady and the wax around the wick begins to melt before setting the candle upright.
This method helps to ensure a slow, steady, and clean start to your candle, which improves the overall quality of the burn session.
- Initial Burn Time: The first time you light your beeswax pillar candle, let it burn for 2-3 hours or until the melt pool reaches the edges of the candle. This prevents tunneling (a situation where the candle only burns down the center).
- Wick Length: Before lighting, trim the wick to about ¼ inch (6 mm). This ensures a steady, controlled flame without excessive smoke or flickering.
2. Burning the Candle:
- Avoid Drafts: Keep the candle away from drafts, fans, or open windows. This will prevent uneven burning, flickering, and smoking.
- Proper Surface: Place the candle on a heat-resistant, level surface, such as a candle holder or plate, to catch any dripping wax.
- Monitor Burn Time: Limit each burn session to 3-4 hours for pillar candles. This reduces the risk of overheating, which can cause the candle to lose shape or burn unevenly.
3. Caring for the Wick:
- Trim the Wick Regularly: After each burn, trim the wick to ¼ inch to keep the flame controlled and the burn clean.
- Remove Debris: Clear any charred wick pieces or debris from the wax pool after each burn to avoid soot or uneven burning.
4. Storage and Maintenance:
- Cool and Dry Storage: Store beeswax candles in a cool, dry place, away from direct sunlight or heat, which can soften or warp the wax.
- Dust-Free: Keep the surface clean and free from dust by covering the candle or wiping it gently with a soft cloth.
- Avoid Freezing: Never freeze your beeswax candle, as this can cause cracks or weaken the structure of the wax.
5. Burn Until the End:
- Extinguishing the Flame: Instead of blowing it out (which can cause splattering), use a candle snuffer to extinguish the flame. This will reduce smoke and preserve the wick.
Additional Tips:
- Melt Pool: Make sure the melt pool reaches the edges of the candle each time it’s burned to ensure an even burn.
- White Bloom: If you notice a white, powdery "bloom" on the surface of your beeswax candle, it's a natural feature. You can buff it away with a soft cloth to restore the candle's sheen.
By following these steps, your beeswax pillar candle will burn beautifully and efficiently, giving you the full benefit of its natural aroma and warmth.

